
The great thing about portraiture is that you can capture real beauty simply by expressing a person’s personality. Portraits have a way of letting people show who they are, and for that reason, they are commonly used to immortalize moments in time.
When taking professional portrait photographs, there are endless tips and tricks you could follow to achieve the perfect shot. But with so many different subjects, lighting styles, backgrounds, and camera settings to consider, it can be difficult to know which professional tips are relevant.
Here are some professional portrait photography tips that will save you time and effort—and create better portraits.
Diffuse your light source.
One way to improve your portraits is to create minimal, flattering lighting. By diffusing your light source, you can control the lighting’s strength and direction and make the subject stand out.
A light source defines and sets the mood and tone of a photograph. When shooting a portrait, you want the light to be diffused. “Diffused” means that light is spread across an area uniformly. Undiffused light creates dark corners, harsh shadows, and uneven edges.
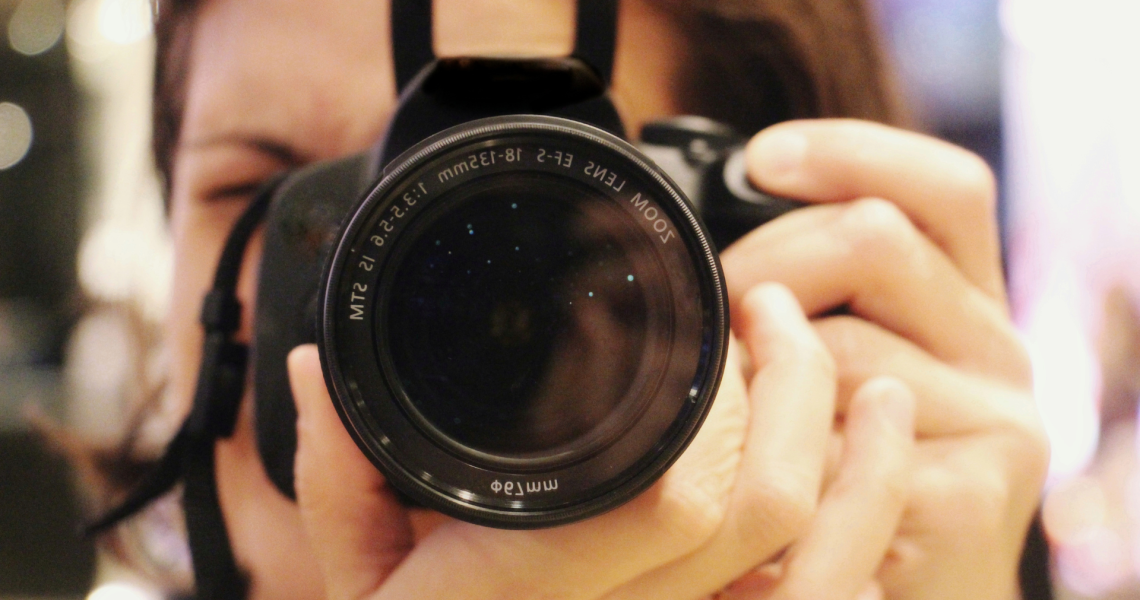
Use a longer lens.
When you’re shooting portraits, you often find yourself zooming in, out, and in again to get the best shot. Not only does this make the process tedious, but it also leads to blurry photos. But did you know that switching to a longer lens allows you to capture the same shot without all the zooming?
Longer lenses, especially prime lenses, create better portraits than zoom lenses. Prime lenses allow you to get a tighter frame, which means that your subject will be in focus while the background is blurred out. A wide lens tends to have too much background, and since that background may be important to the image, it is not necessarily in focus.
Find a different position.
When photographing portraits, it’s important to know how to position each person, so their features stand out. Positioning subjects’ heads and shoulders to face the camera is a good place to start your portrait photography. As the sun moves in the sky throughout the day, be sure also to adjust your subjects’ shadows accordingly.
Bring your own lighting
Lighting is one of the essential parts of creating great portraits and one of the most important skills to learn for any photographer. All photographers know that lighting is one of the most important aspects of getting great portraits. Good lighting for portraits is super important because proper lighting can change the look and feel.
Alter the aperture.
The aperture on a camera is essentially the mechanism that lets light in. On most cameras, this is controlled by the camera’s auto-focus system. This doesn’t mean, however, that auto-focusing is the best option for all situations; there’s a simple way to “make” auto-focus work for portrait photography.
A camera that shoots in aperture priority mode lets you create great portrait photography. A portrait image is composed around the subject, and the photographer must choose an aperture setting that will both reveal the subject in sharp focus and blur the background so that the focus is on the subject only. When you shoot in aperture priority mode, the camera chooses the aperture for you, so you can concentrate on framing and composing the photo.
Use props.
If you’re thinking about getting into portrait photography, then props can be a great way to add variety and interest to your photos without wasting time. They can be a fun way to give your subjects a little personality and a great way to really bring home a location or setting.
When taking portraits, it’s important to have a variety of props. First, you need to find objects that fit the subject and setting. The right props can make a great portrait. Second, you need to use props properly. This can be done by positioning them in a way that highlights the subject. Third, you should ensure the object’s color, shape, and lighting complement the subject.
Use gels.
There’s nothing wrong with using gels to get creative with your portraits. Gels are mostly used in photography for their color-enhancing properties, and you can use them for various effects in your photos. For instance, they can soften harsh lighting, intensify color, and add a hot spot. Gels are one of the essential tools used by professional photographers, so learning how to use them is very beneficial.
There are several guides for beginners to help them through the process of becoming professional photographers. Since the camera is already in your hands, the guides are written with the photographer in mind. It takes you through the thought process and preparation stages and helps you master the art of shooting portraits. It also details post-processing techniques that give you control over image editing.